Featured Brands
Recommended Products
Pedals are usually every rider’s first upgrade and there are many different types of pedals to choose from depending on your riding preferences and the type of bike you ride. However, all pedals are installed and removed in the same general way and there are some specific tools you should have and steps you should follow to get it done right.
This article will go over the tools you will need for the job, how to remove bike pedals, how to install bike pedals, and some frequently asked question about pedals.
If you are in the market for new pedals, check out our huge selection of all types of cycling pedals.
In this article, we'll teach you about:
Note: not all of these tools are necessary, and depending on the type of pedals you have, you will either use the hex wrench or the 15mm pedal wrench. Using a torque wrench when finishing tightening the pedals is always a good idea but can be skipped if you dont have one. Just make sure to the get the pedals on tight enough.
If you are new to changing pedals, take your time to get it right the first time. You can end up damaging more expensive parts if you get it wrong and cause yourself some issues.
When performing any maintenance and installations on your bike it is important to have a clean and organized workspace. Set your bike up in the stand and layout your tools, rag, and grease. Before you start, one thing to remember when removing pedals is that each bike pedal thread direction loosens in a different way from the other, this is to ensure one doesn’t get too tight while riding.
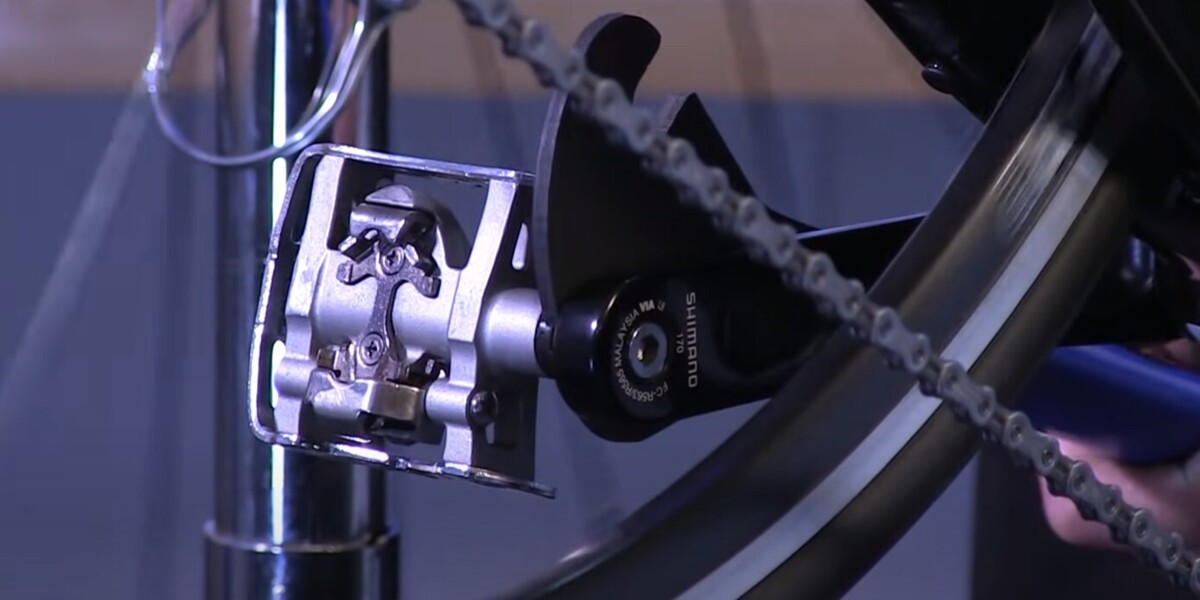
The non-drive side would be the left-hand side if you were pedaling. You will need to attach either the Allen Key from behind the crank arm or the wrench on the front and turn the bolt Clockwise. This will undo the pedal, and it should loosen.
Now the drive side pedal. If you were pedaling, this would be your right-hand side. This time, you will attach the Allen key or wrench and turn the bolt counter-clockwise. After you have applied some force, it should loosen off.
Now you have a bike with no pedals, and it's time to learn how to install bike pedals. The process is just as simple as taking them off, but there are a few things that you will need to remember when installing bike pedals.
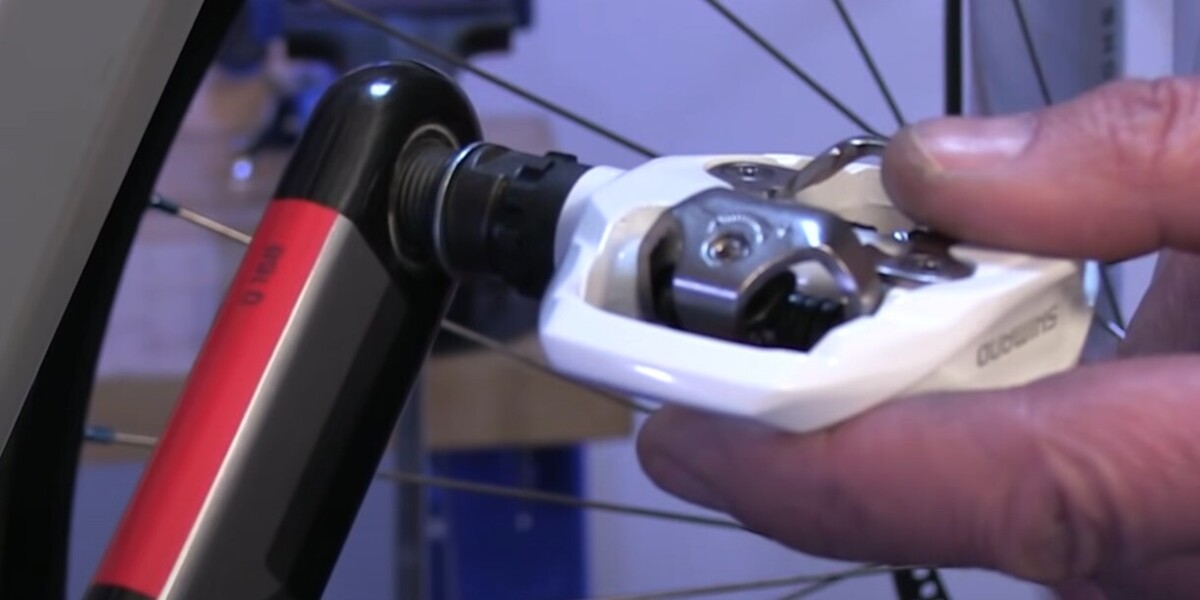
You will want to look at your pedals to see which is the left and which is the right and separate them from each other. It normally says on the shaft of the pedal.
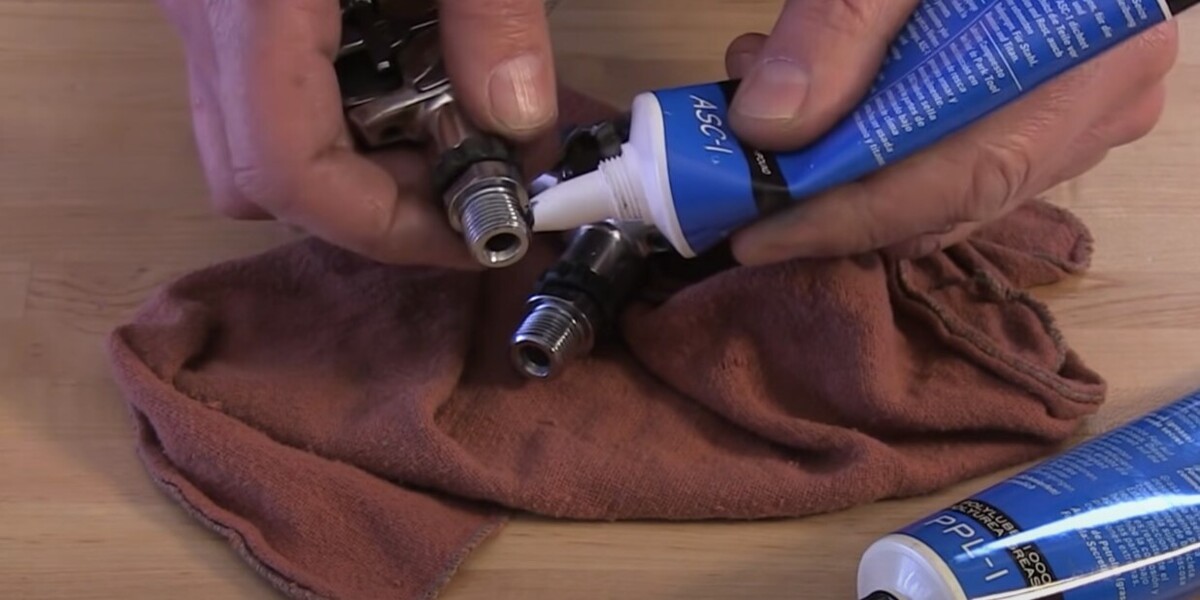
Before you start putting these pedals in, there are a few things you need to do. Firstly, I would recommend giving the crank arm threads a quick clean to ensure there’s no grit or dirt. Then you are going to want to do the same with the threads on your pedals.
Grab the right-hand side pedal, and before you put it into the crank arm, double check it is the correct pedal. Apply some grease onto the thread to stop it from getting stuck and turn it clockwise into the crank arm with your fingers until it is finger tight. Now using your selected bike pedal tool, you are going to need to tighten this pedal up. Shimano Pedals, for example, are recommended to be tightend to 40nm, so if you have a torque wrench, now is the time to use it.
Now you should be left with the non-drive side pedal left to install. Like before, you will want to apply some grease to stop it from getting stuck, and start turning the pedal in counter-clockwise with your fingers until finger tight. Now grab the torque wrench, pedal wrench, or allen key and begin to tighten it until it is nice and tight. Again, you will want to apply a fair bit of force but don’t overtighten it.
Clean any excess grease that might have come off the pedals and check they are in correctly and tight. Now it's time to clean up and go out riding.
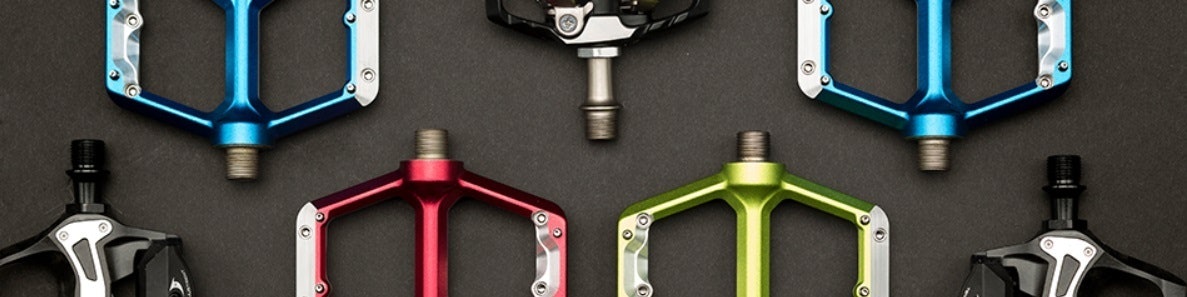
There are many different types of pedals on the market to choose from. Some of our favorite bike pedals include: Race Face, Shimano, Look, Crank Brothers, Spank, OneUp Components, and Deity.
We recommend thinking about the riding discipline that you are planning to participate in. Then pick pedals that are best suited for that discipline. SPD or Flat Pedals are great for mountain biking, SPD-SL or LOOK are great for road riding.
They come in all different shapes and sizes to suit different disciplines and users. The only thing that typically is the same is the bike pedal thread.
There are flat pedals and clipless pedals. Flat pedals are used more by aggressive riders who want the option to quickly use their feet if they have to. Clipless pedals come in many different cleat patterns. Mountain bikes can be found with either pedals and road bikes are only found with clipless pedals.
Typically, all pedal manufacturers use the same standard pedal thread, but it is worth double checking before completing your purchase.
SHOP NOW

SHIP ALMOST ANYTHING & SAVE

SHOP NOW

SHOP NOW

SHOP NOW


Follow Jensonusa